In a world where data is the new gold, the privacy implications of relying solely on cloud-based AI services are a growing concern. Are you comfortable sharing your most sensitive data with algorithms you don't control? I'm hesitant, it hasn't stopped me, but I feel uneasy about it. That's why I embarked on a quest to build a private, secure, and self-hosted AI environment. Using the power of Ollama, the user-friendliness of OpenWebUI, and the security of Authelia for authentication, I've unlocked the potential of models like Llama and DeepSeek without compromising my data. Let me show you how you can do the same. All thanks to the power of open-source software and the community that supports it!

The AI Starter Kit
TLDR; See the tdharris/ollama-openwebui repository for the full docker-compose.yml setup.
The self-hosted AI starter kit consists of the following components:
- Ollama: An open-source platform that allows you to run state-of-the-art AI models locally on your own hardware.
- OpenWebUI: A user-friendly interface for running models like DeepSeek, Llama, and more.
- Authelia: An open-source authentication and authorization server that provides two-factor authentication and single sign-on for your applications. OpenWebUI integrates via OIDC for secure access.
- Nginx: To access OpenWebUI securely over HTTPS as a reverse proxy and have Authelia handle the authentication.
- Hardware: A GPU and plenty of memory for accelerated AI model inference. I am using my desktop with an NVIDIA RTX 3080 GPU and 64GB of RAM, which is probably enough for small models.
Ollama: Open-Source AI Models
Ollama is an open-source platform that allows you to run state-of-the-art AI models locally on your own hardware. It provides a simple and user-friendly interface for running models like DeepSeek, Llama, and more. Ollama is designed to be easy to use, secure, and private, giving you full control over your data and models.
To get started, I created an initial docker-compose.yml file following the official Ollama Docker imageollama/ollama, which is available on Docker Hub.
services:
  ollama:
    image: ollama/ollama:latest
    container_name: ollama
    restart: unless-stopped
    ports:
      - "11434:11434"
    volumes:
      - ollama:/root/.ollama
    environment:
      - NVIDIA_DRIVER_CAPABILITIES=all
      - NVIDIA_VISIBLE_DEVICES=all
    runtime: nvidia
NOTE
The NVIDIA_DRIVER_CAPABILITIES and NVIDIA_VISIBLE_DEVICES environment variables are required for GPU support. See NVIDIA Container Toolkit for more information.
I then ran docker-compose up -d to start the Ollama service. Once the service was up and running, I explored the available models from the Ollama library and installed one I was interested in trying out:
docker exec -it ollama ollama run deepseek-r1:7bWhile that was downloading, I moved on to setting up OpenWebUI.
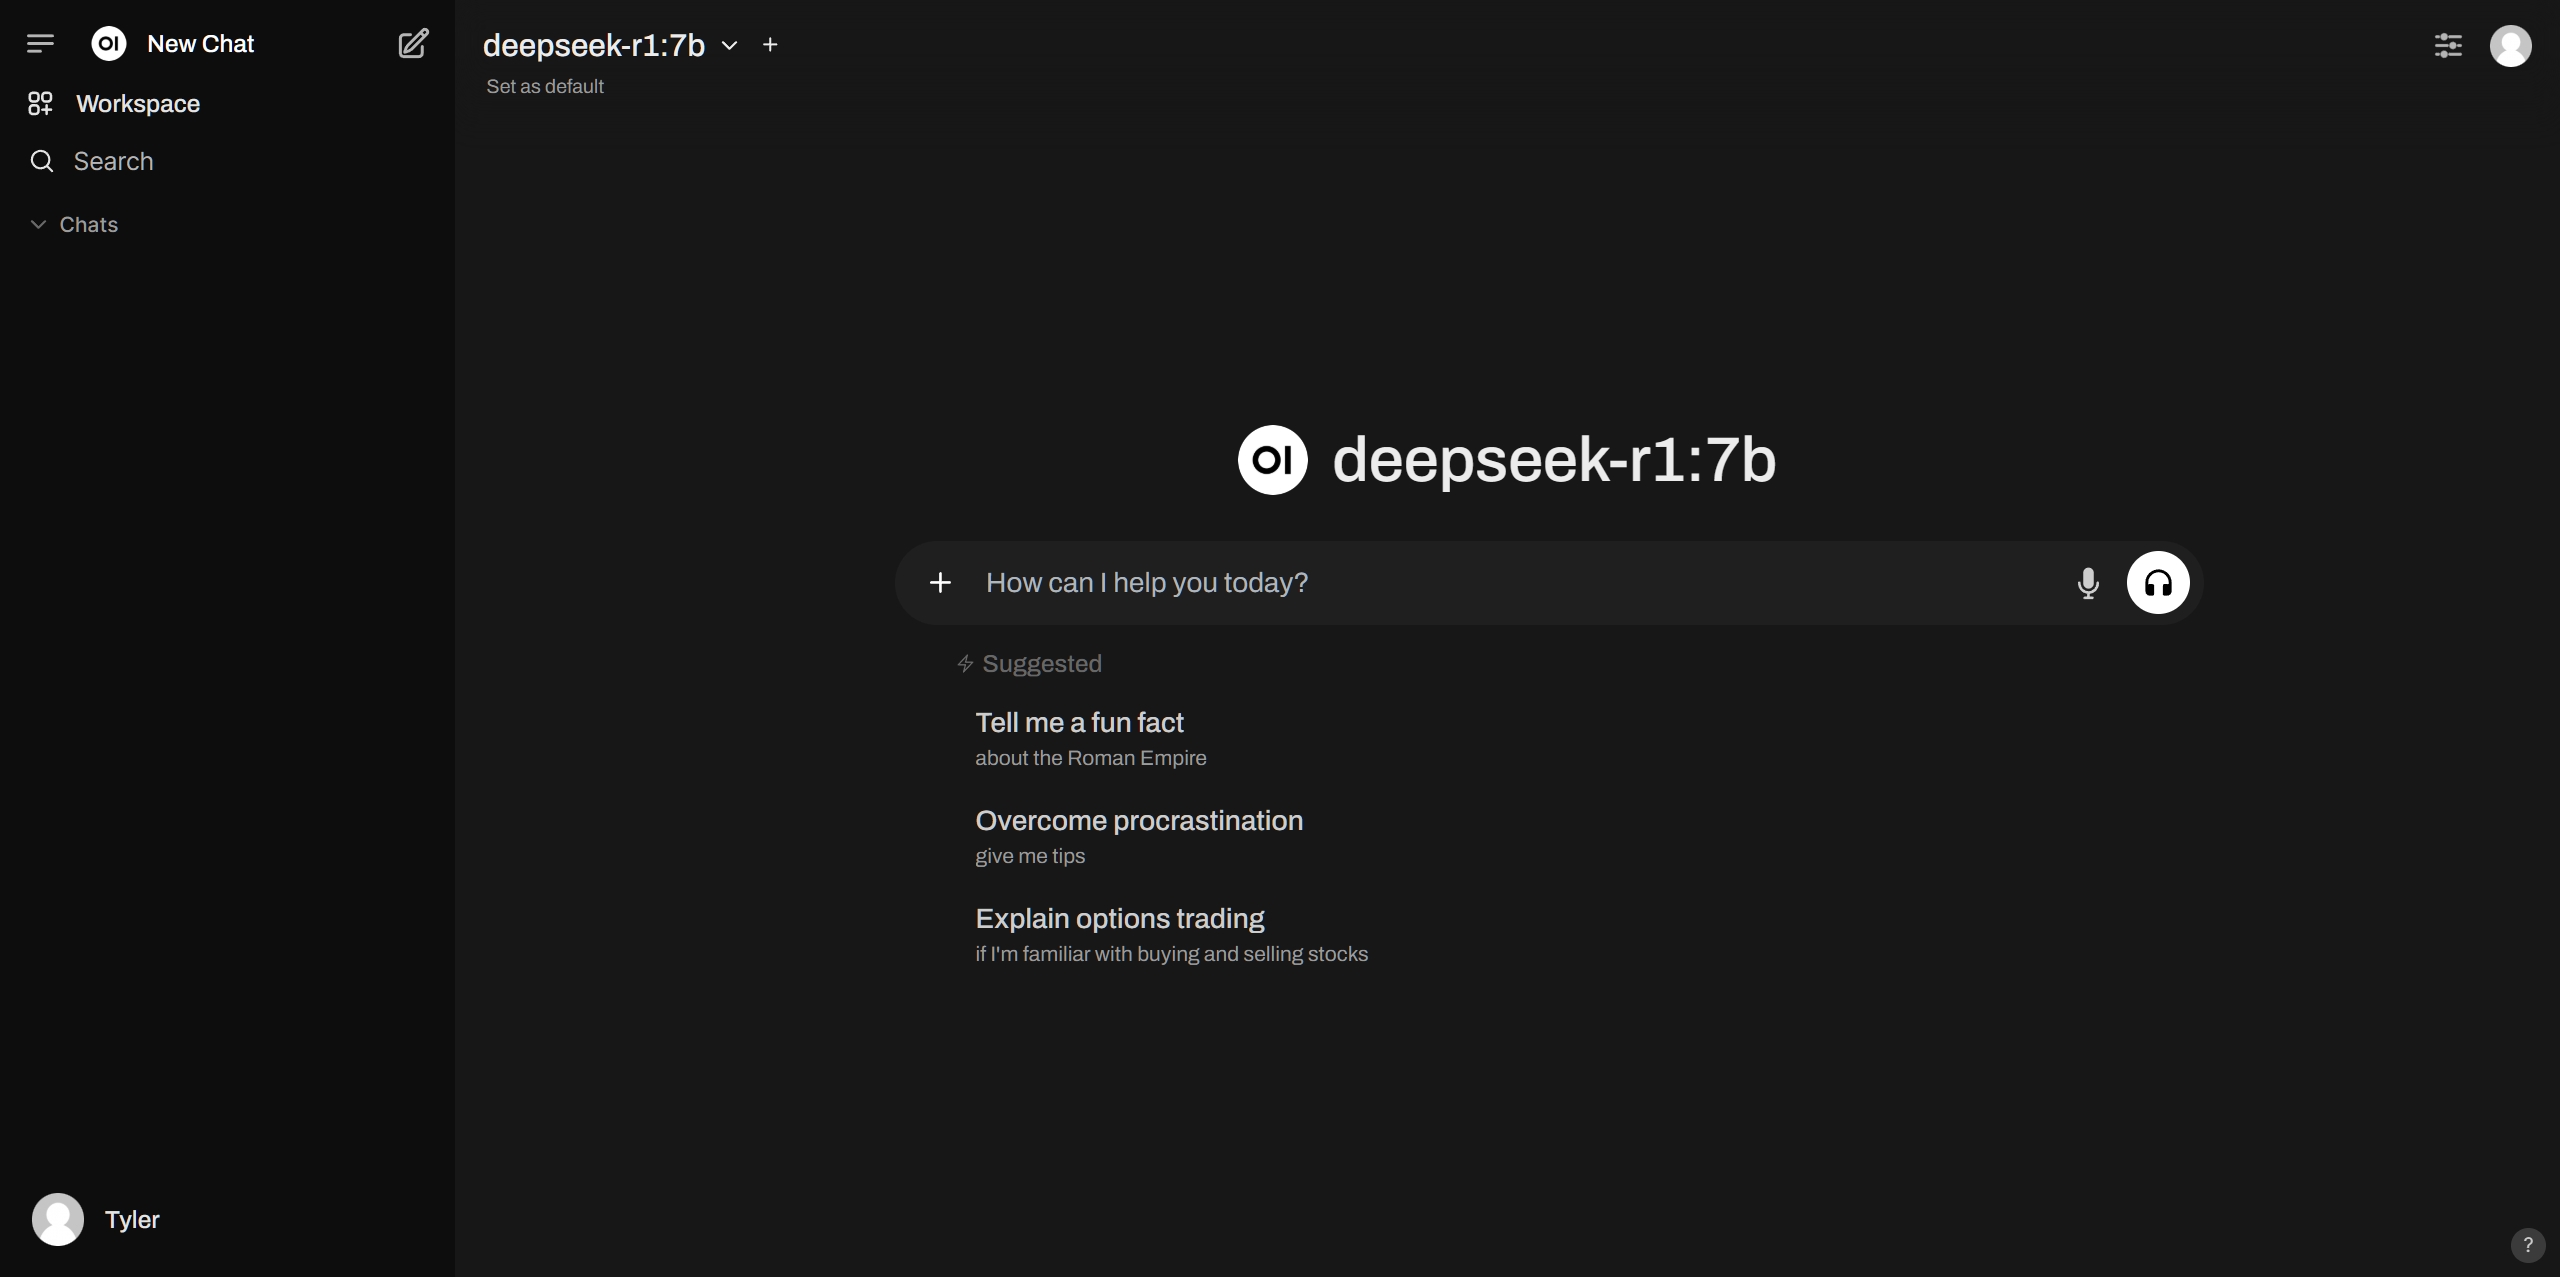
OpenWebUI: User-Friendly AI Interface
OpenWebUI is a user-friendly interface for running AI models like DeepSeek, Llama, and more. It provides a simple and intuitive way to interact with AI models without the need for complex command-line interfaces. OpenWebUI is designed to be easy to use, accessible, and powerful, making it ideal for both beginners and experts.
To set up OpenWebUI, I explored the OpenWebUI Documentation, the OpenWebUI GitHub Repository and available environment variables and came up with the following to add to my docker-compose.yml file:
openWebUI:
  image: ghcr.io/open-webui/open-webui:latest
  container_name: open-webui
  restart: unless-stopped
  ports:
    - "3000:8080"
  extra_hosts:
    - "host.docker.internal:host-gateway"
  volumes:
    - open-webui:/app/backend/data
  environment:
    - "OLLAMA_BASE_URL=http://ollama:11434"
  depends_on:
    - ollama
I ran docker-compose up -d to start the OpenWebUI service. Once the service was up and running, I accessed the OpenWebUI interface at http://localhost:3000, but held off from trying it out since I wanted to integrate it with Authelia for my Identity Provider.
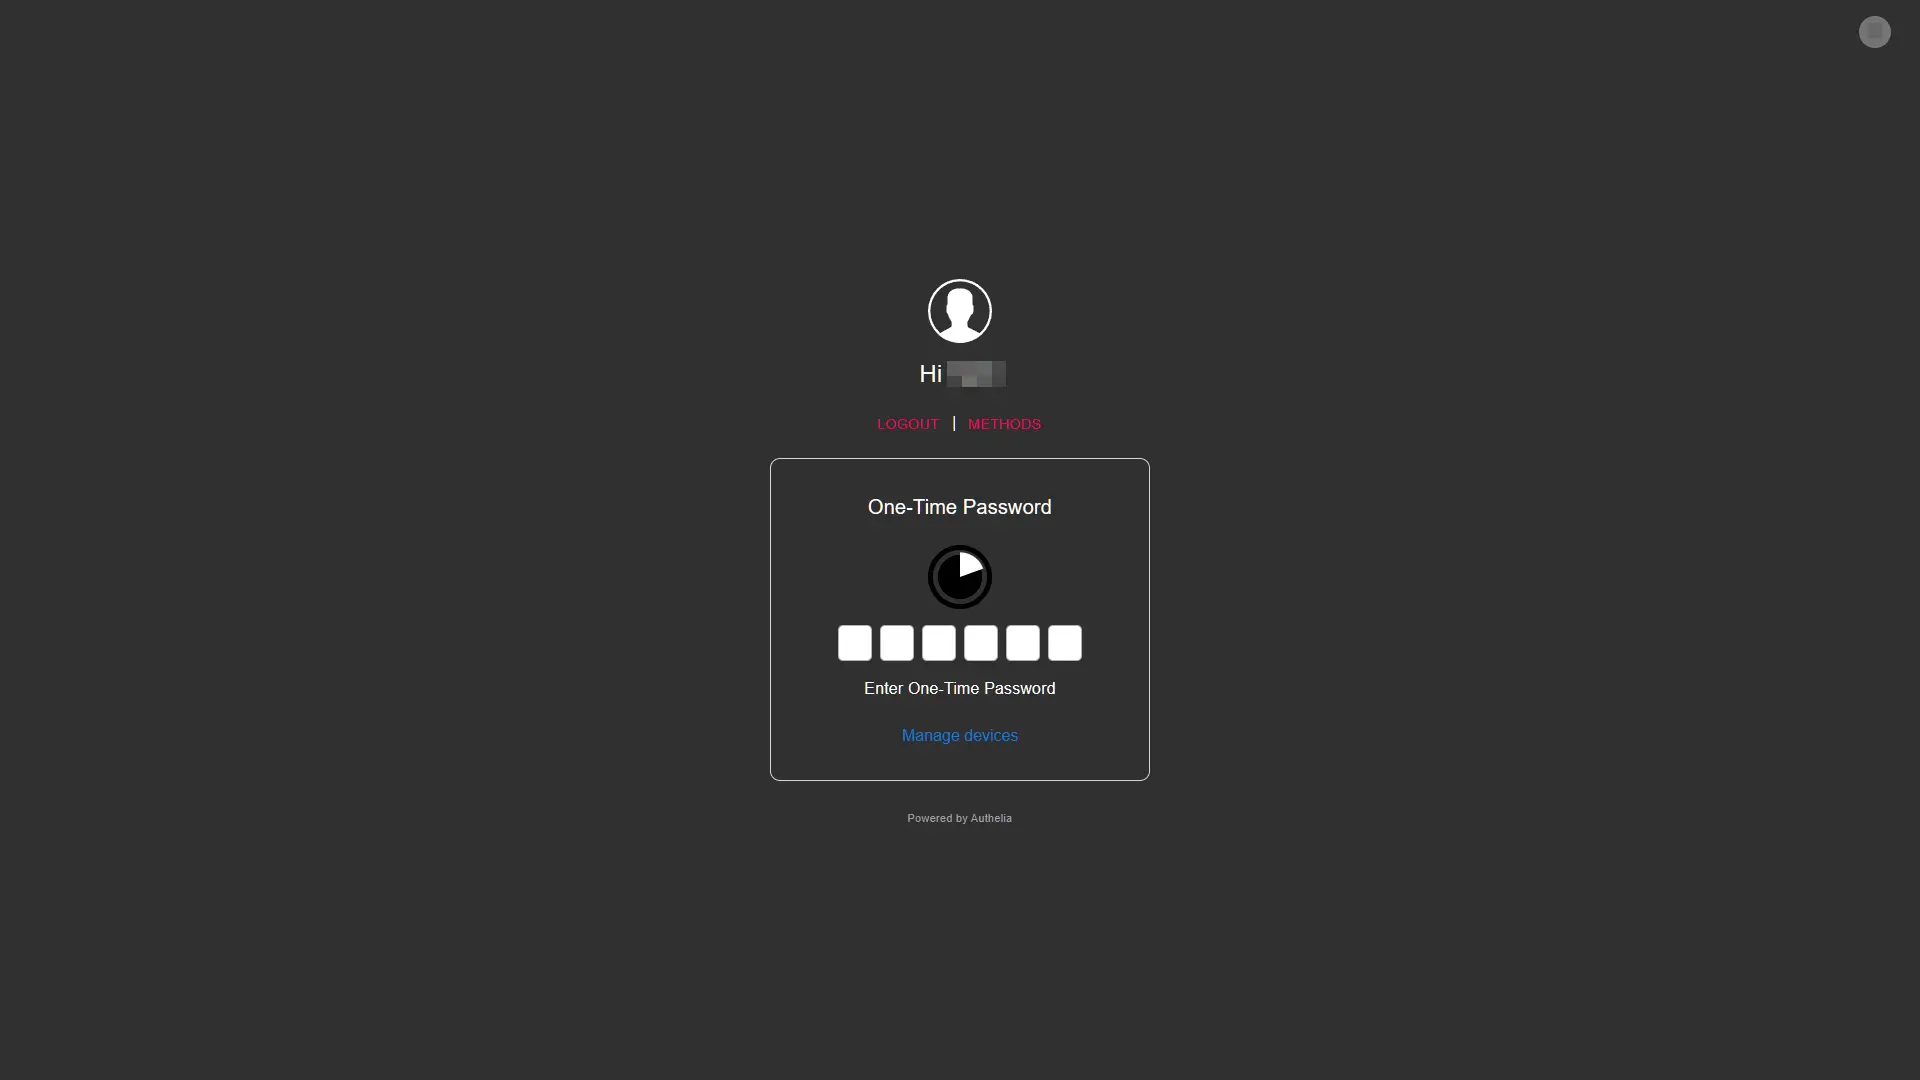
Authelia: Secure Access with OIDC & Two-Factor Authentication
Authelia is an open-source authentication and authorization server that provides two-factor authentication and single sign-on for your applications. It supports multiple authentication backends, including LDAP, OAuth2, and OIDC. I chose to use Authelia with OIDC for my setup.
To integrate Authelia with OpenWebUI, I followed the Authelia OIDCS Open WebUI documentation. The following YAML configuration is an example Authelia client configuration for use with Open WebUI:
identity_providers:
  oidc:
    ## The other portions of the mandatory OpenID Connect 1.0 configuration go here.
    ## See: https://www.authelia.com/c/oidc
    clients:
      - client_id: "open-webui"
        client_name: "Open WebUI"
        client_secret: "$pbkdf2-sha512$310000$c8p78n7pUMln0jzvd4aK4Q$JNRBzwAo0ek5qKn50cFzzvE9RXV88h1wJn5KGiHrD0YKtZaR/nCb2CJPOsKaPK0hjf.9yHxzQGZziziccp6Yng" # The digest of 'insecure_secret'.
        # Optionally use below if above digest approach doesn't work (not ideal):
        # client_secret: '<YOUR_RAW_TEXT_CLIENT_SECRET>'
        # token_endpoint_auth_method: client_secret_basic
        public: false
        authorization_policy: "two_factor"
        redirect_uris:
          - "https://ai.example.com/oauth/oidc/callback"
        scopes:
          - "openid"
          - "profile"
          - "groups"
          - "email"
        userinfo_signed_response_alg: "RS256"
See How do I generate a client identifier or client secret? to generate the client_secret value.
I restarted my Authelia service and recreated my OpenWebUI container with the updated environment variable configurations. Now finally, I made my way to adding the nginx reverse proxy configuration to access with my own subdomain.
Nginx: Secure Access with Reverse Proxy
In order to access OpenWebUI securely, I set up an NGINX reverse proxy with SSL termination, see linuxserver/docker-nginx for a great example. This allows me to access the service over HTTPS and have Authelia handle the authentication. Here's the subdomain server configuration I used:
server {
    listen 443 ssl;

    server_name ai.*;

    include /config/nginx/ssl.conf;
    client_max_body_size 0;
    include /config/nginx/authelia-server.conf;

    location / {
        include /config/nginx/authelia-location.conf;

        include /config/nginx/proxy.conf;
        include /config/nginx/resolver.conf;
        set $upstream_app <local_ip_or_container_name>;
        set $upstream_port 3002;
        set $upstream_proto http;
        proxy_pass $upstream_proto://$upstream_app:$upstream_port;
    }
}
NOTE
Replace <local_ip_or_container_name> with the IP address or container name of your OpenWebUI service.
Try It Out
With everything set up, I accessed my OpenWebUI service at https://ai.example.com and was greeted with the Authelia login page. After successfully authenticating, I was able to access the OpenWebUI interface and run AI models like DeepSeek and Llama securely and privately.
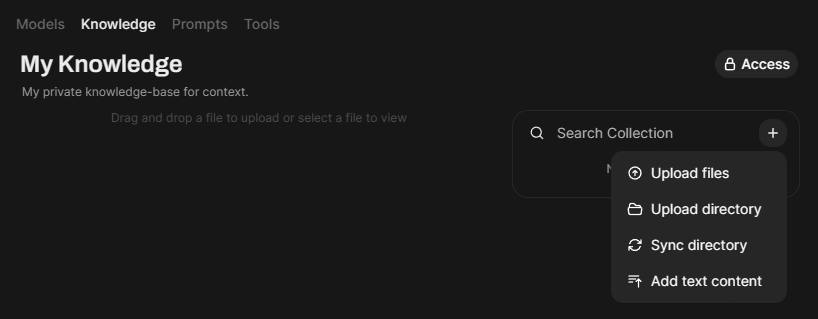
Workspace Knowledge: Enhance Your Chats with Context
You can leverage your own Knowledge directly in your chats with Open WebUI. This is a powerful feature that allows you to provide context to your AI models and improve the quality of their responses. You can add your Knowledge in the form of text, images, or files, and Open WebUI will use it to generate more accurate and relevant responses.
Workspace Models: Create Custom Models
You can create your own custom models in Open WebUI using the Models feature. This allows you to attach your Knowledge to your models and use them to generate responses in your chats with citations, etc. You can create models for a wide range of tasks, including text generation, image recognition, and more.
Conclusion
By combining the power of Ollama, the user-friendliness of OpenWebUI, and the security of Authelia, I've pieced together a private, secure, and self-hosted AI environment that allows me to run state-of-the-art models like Ollama and DeepSeek without compromising my data. With GPU support, a user-friendly interface, and secure access, I can leverage the full potential of AI models while maintaining control over my data and privacy. If you're looking to build your own self-hosted AI environment, I hope this guide has provided you with a solid starting point.
For the full docker-compose.yml setup, see my tdharris/ollama-openwebui GitHub repository.